Open the settings through Indicators List on the chart's right-click menu. By default the indicator shows market structure, volume imbalances, the latest order block on each side, liquidity pools, fair value gaps and the new week opening gaps; displacement, polarity changes, the balance price range, new day gaps, Fibonacci and killzones wait until you switch them on.
General
- Mode — Present (default) shows only what is still in play; Historical shows everything from the loaded history as well.
- Hide boxes when — Never (default, recommended), Chart move, or Mouse down.
- Redraw delay after chart is idle — 120 ms, so double-clicks on the chart are not lost.
- Draw boxes behind the candles — on. Verbose log — off; turn it on only when sending us a bug report.
Market structure and displacement
- Show Market Structures — on. MSS and BOS, each with separate bullish and bearish colours.
- Length — 5. Sets how big a swing must be to count as a structure point; most of the other tools build on this value.
- Show Displacement — off. Highlights strong, fast candles. Displacement ATR multiple — 2.0: a candle needs a range of at least twice the ATR.
Order blocks
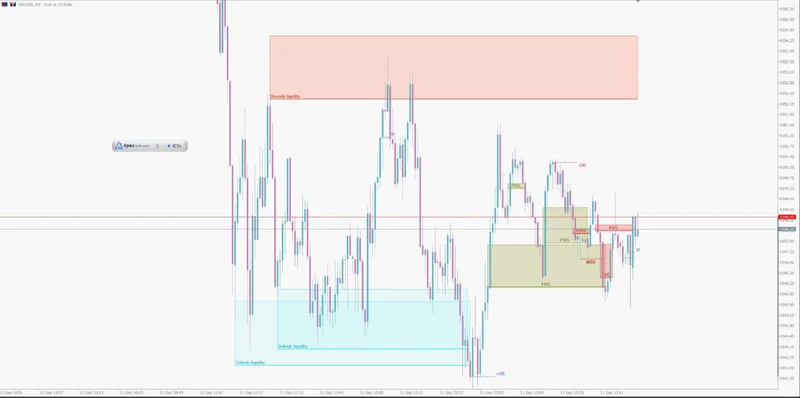
- Show Order Blocks — on. Swing Lookback — 10: how many bars back the indicator may go to find the block's origin candle.
- Show Last Bullish OB / Show Last Bearish OB — 1 each. A low count keeps the chart readable.
- Use Candle Body — on gives a tighter block built from candle bodies; off widens it to include the wicks.
- Show Historical Polarity Changes — off. Keeps blocks that were broken and flipped, drawn with hatching in the break colour, a quick way to find levels where support became resistance or the reverse.
Liquidity
- Show Liquidity — on. Buyside and sellside pools.
- Margin — 6.0, from 2 to 7. Not a distance in points: the pool is ATR × margin ÷ 10 wide, so the default gives 0.6 × ATR, 2 a tight 0.2 × ATR and 7 a wide 0.7 × ATR. Keep it equal to the margin in ApeX Trade Manager if you auto trade.
- Liquidity sweep lookback — 100: the window, counted back from each structure break, in which a liquidity sweep is searched for. It decides whether the break is flagged as having taken liquidity first.
- # Visible Liq. boxes — 2.
Fair value gaps and volume imbalance
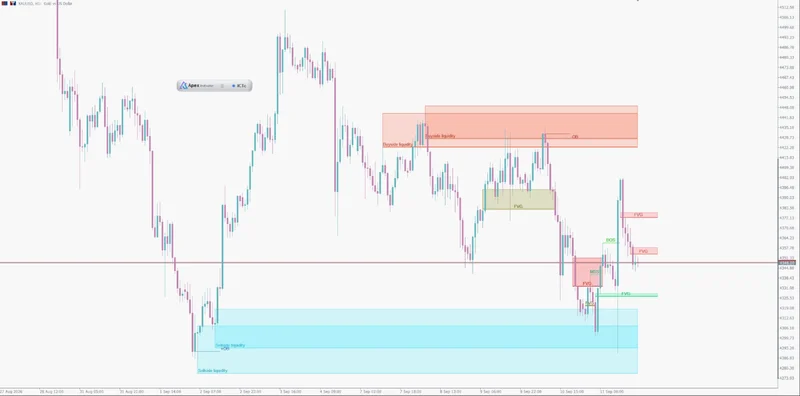
- Show FVGs — on. Options — choose FVG for ordinary gaps, or Inversion FVG to show a gap only once price has run through it and it has changed sides.
- Balance Price Range — off. The overlap of two opposite gaps.
- # Visible FVG's — 3, with separate colours for live and broken gaps on each side.
- Show Volume Imbalance (VI) — on, 2 visible. The small gaps between the bodies of two neighbouring candles.
Opening gaps and Fibonacci
- NWOG — new week opening gap, between Friday's close and the new week's open. On, last 3 kept.
- NDOG — the same for each new day. Off, last 1 kept.
- Fibonacci between last — none by default; choose BOS, MSS or Swing to draw a retracement automatically across the latest one. Extend lines stretches the levels to the right edge.
Killzones
Show Killzones is off by default. Four sessions, each with its own colour, start and end time:
- New York 07:00–09:00 · London Open 07:00–10:00 · London Close 15:00–17:00 · Asian 10:00–14:00 (default values).
- Killzone hours: broker time − UTC — 0 by default.
Your chart runs on the broker's server time, so check the shading against a session whose hours you know and adjust the times until it lines up before you trade from it.
Signals for ApeX Trade Manager
Only relevant if you also use ApeX Trade Manager. For each structure shift confirmed on a closed bar, the trade manager receives a small bundle: the direction, the matching order block, the level that gave way, any fair value gap next to it, and a flag for a prior liquidity sweep. Acceptance is the trade manager's decision, and it records the reason when it passes on one.
- Emit signals for the EA — on. Compute only — calculates without drawing; the indicator turns it on for itself in the hidden copy the trade manager runs, and in the Strategy Tester.
- [EA] overrides — seven values can come from the trade manager instead of from you: the structure length, the block lookback and body setting, the liquidity margin, the FVG option, the sweep window and max bars. At 0 or −1 your own settings stay in effect.
A box's broken-or-not status is judged as of the signal bar itself, and today's chart is never used to rewrite it, which keeps results honest.